Making a blog should be simple
2021-10-16
Design inspiration: https://fabiensanglard.net
The site was was initially built using pug templates but it was getting tedious to expand and there was so much stuff that I didn’t need. I wanted to keep it as simple as possible:
- Loop over markdown files
- Convert them into HTML pages
- Add styling
And that’s it.
So I changed the implementation to: A ruby script essentially
- loops over markdown files and converts into HTML using vmg/redcarpet
- injects HTML generated above into ERB templates and renders final pages
2021-10-17
Now also showing list of journals separately on the main page
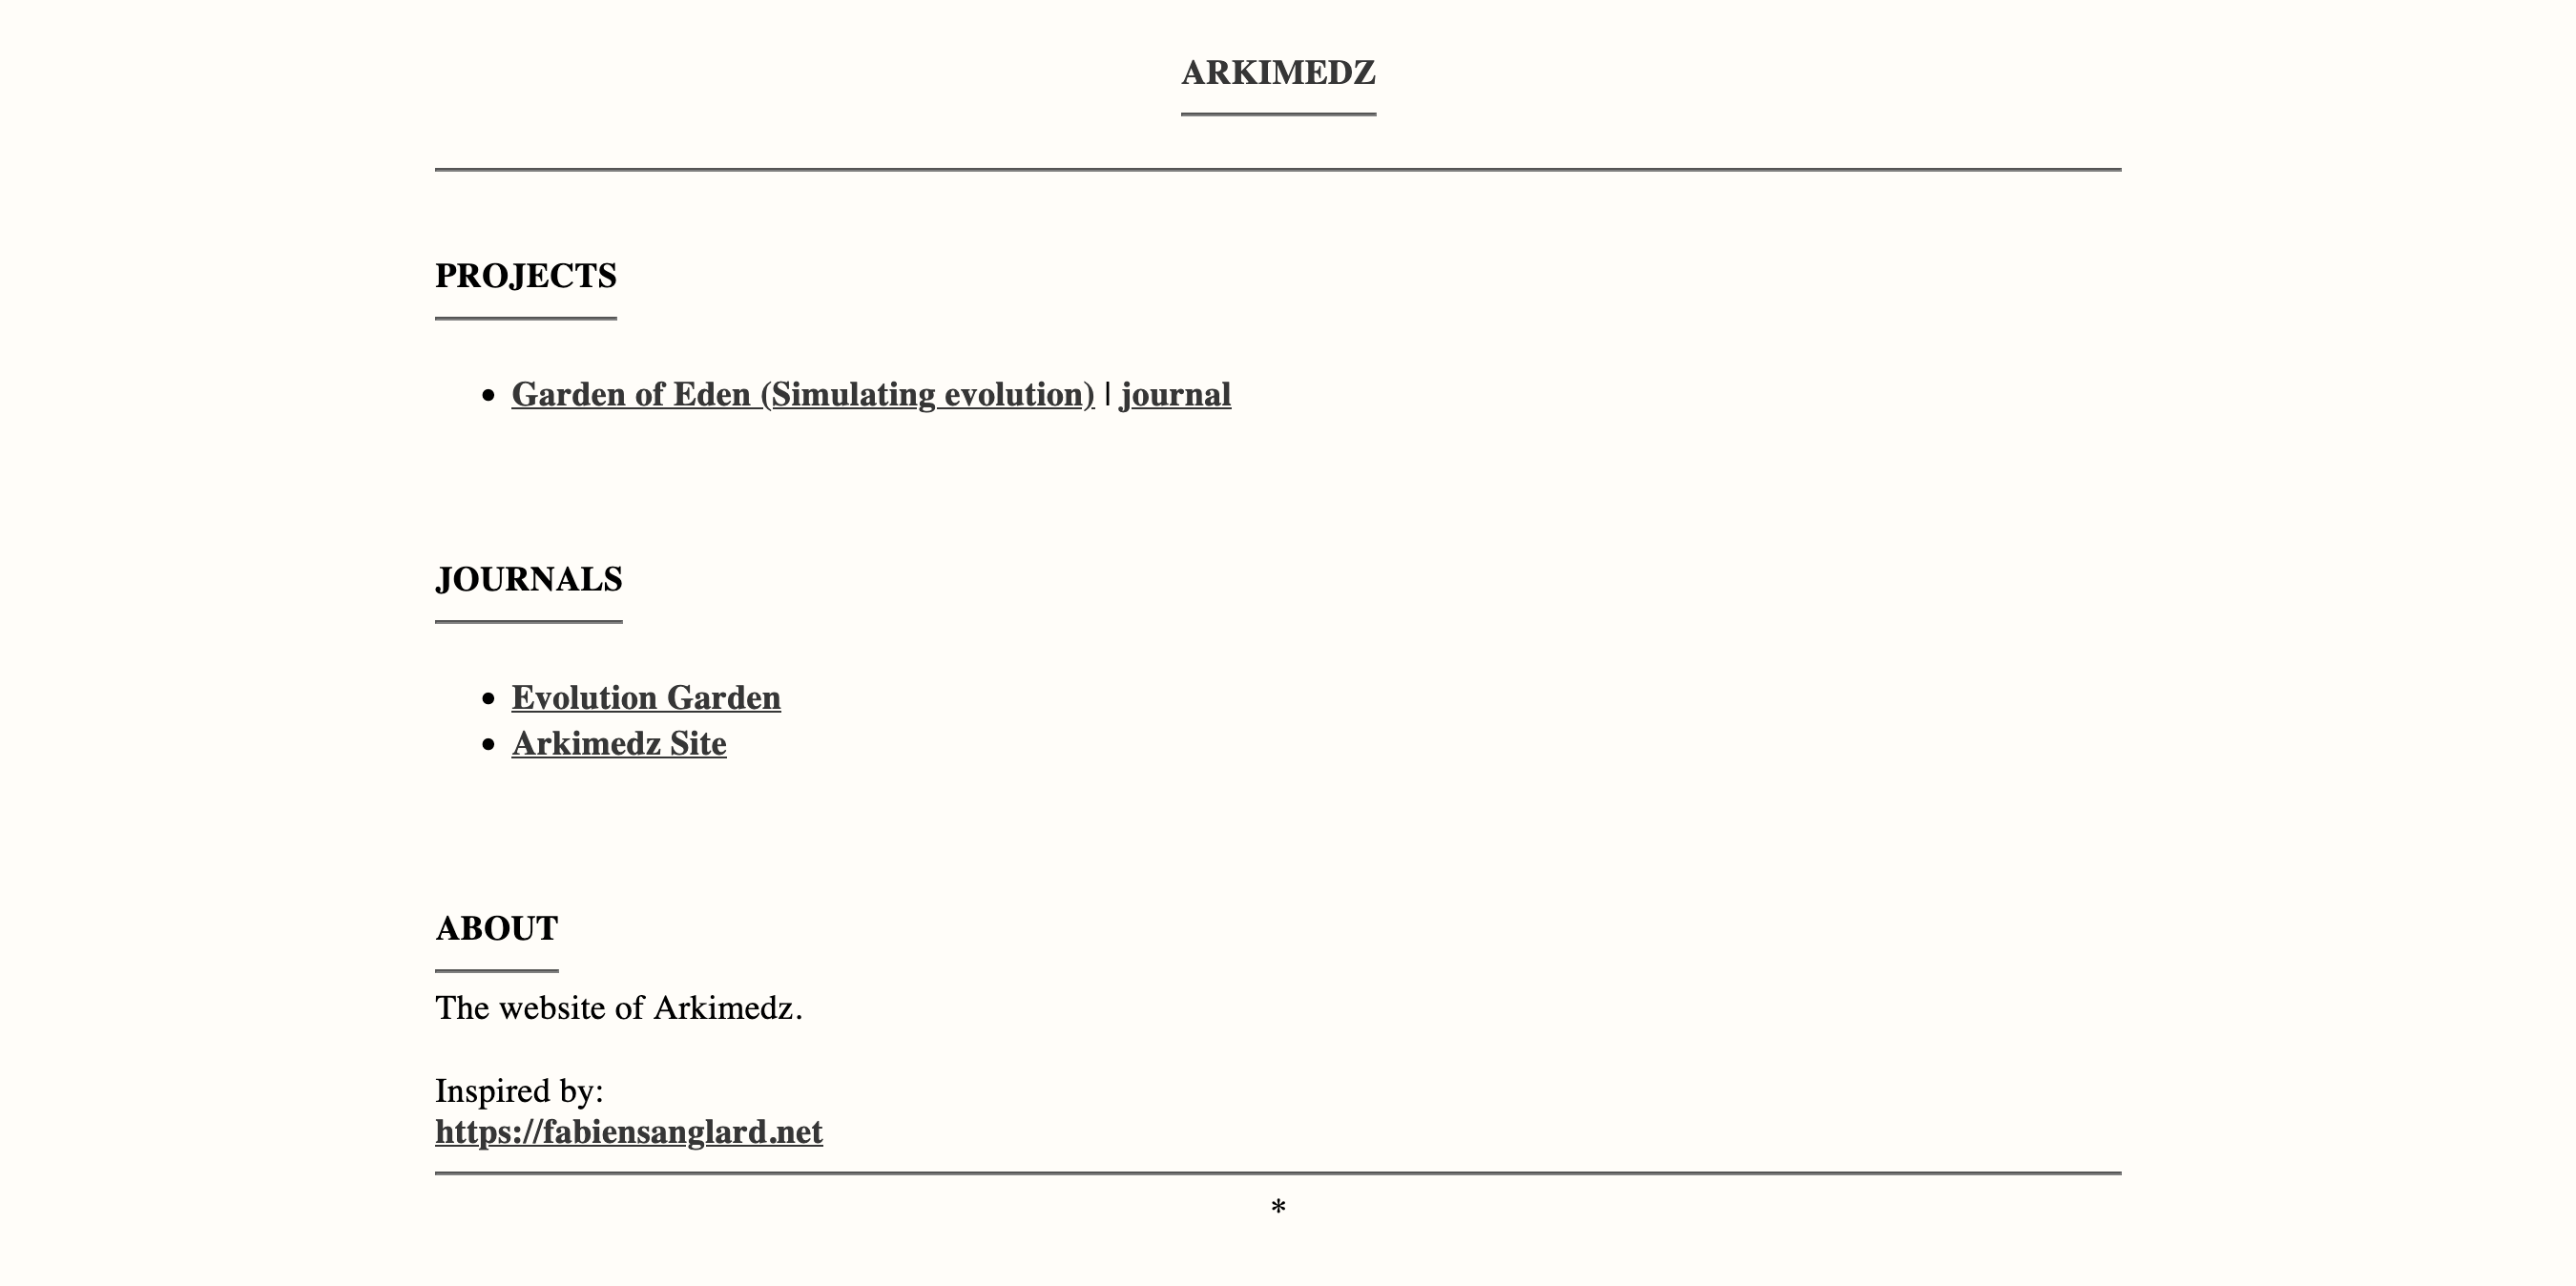
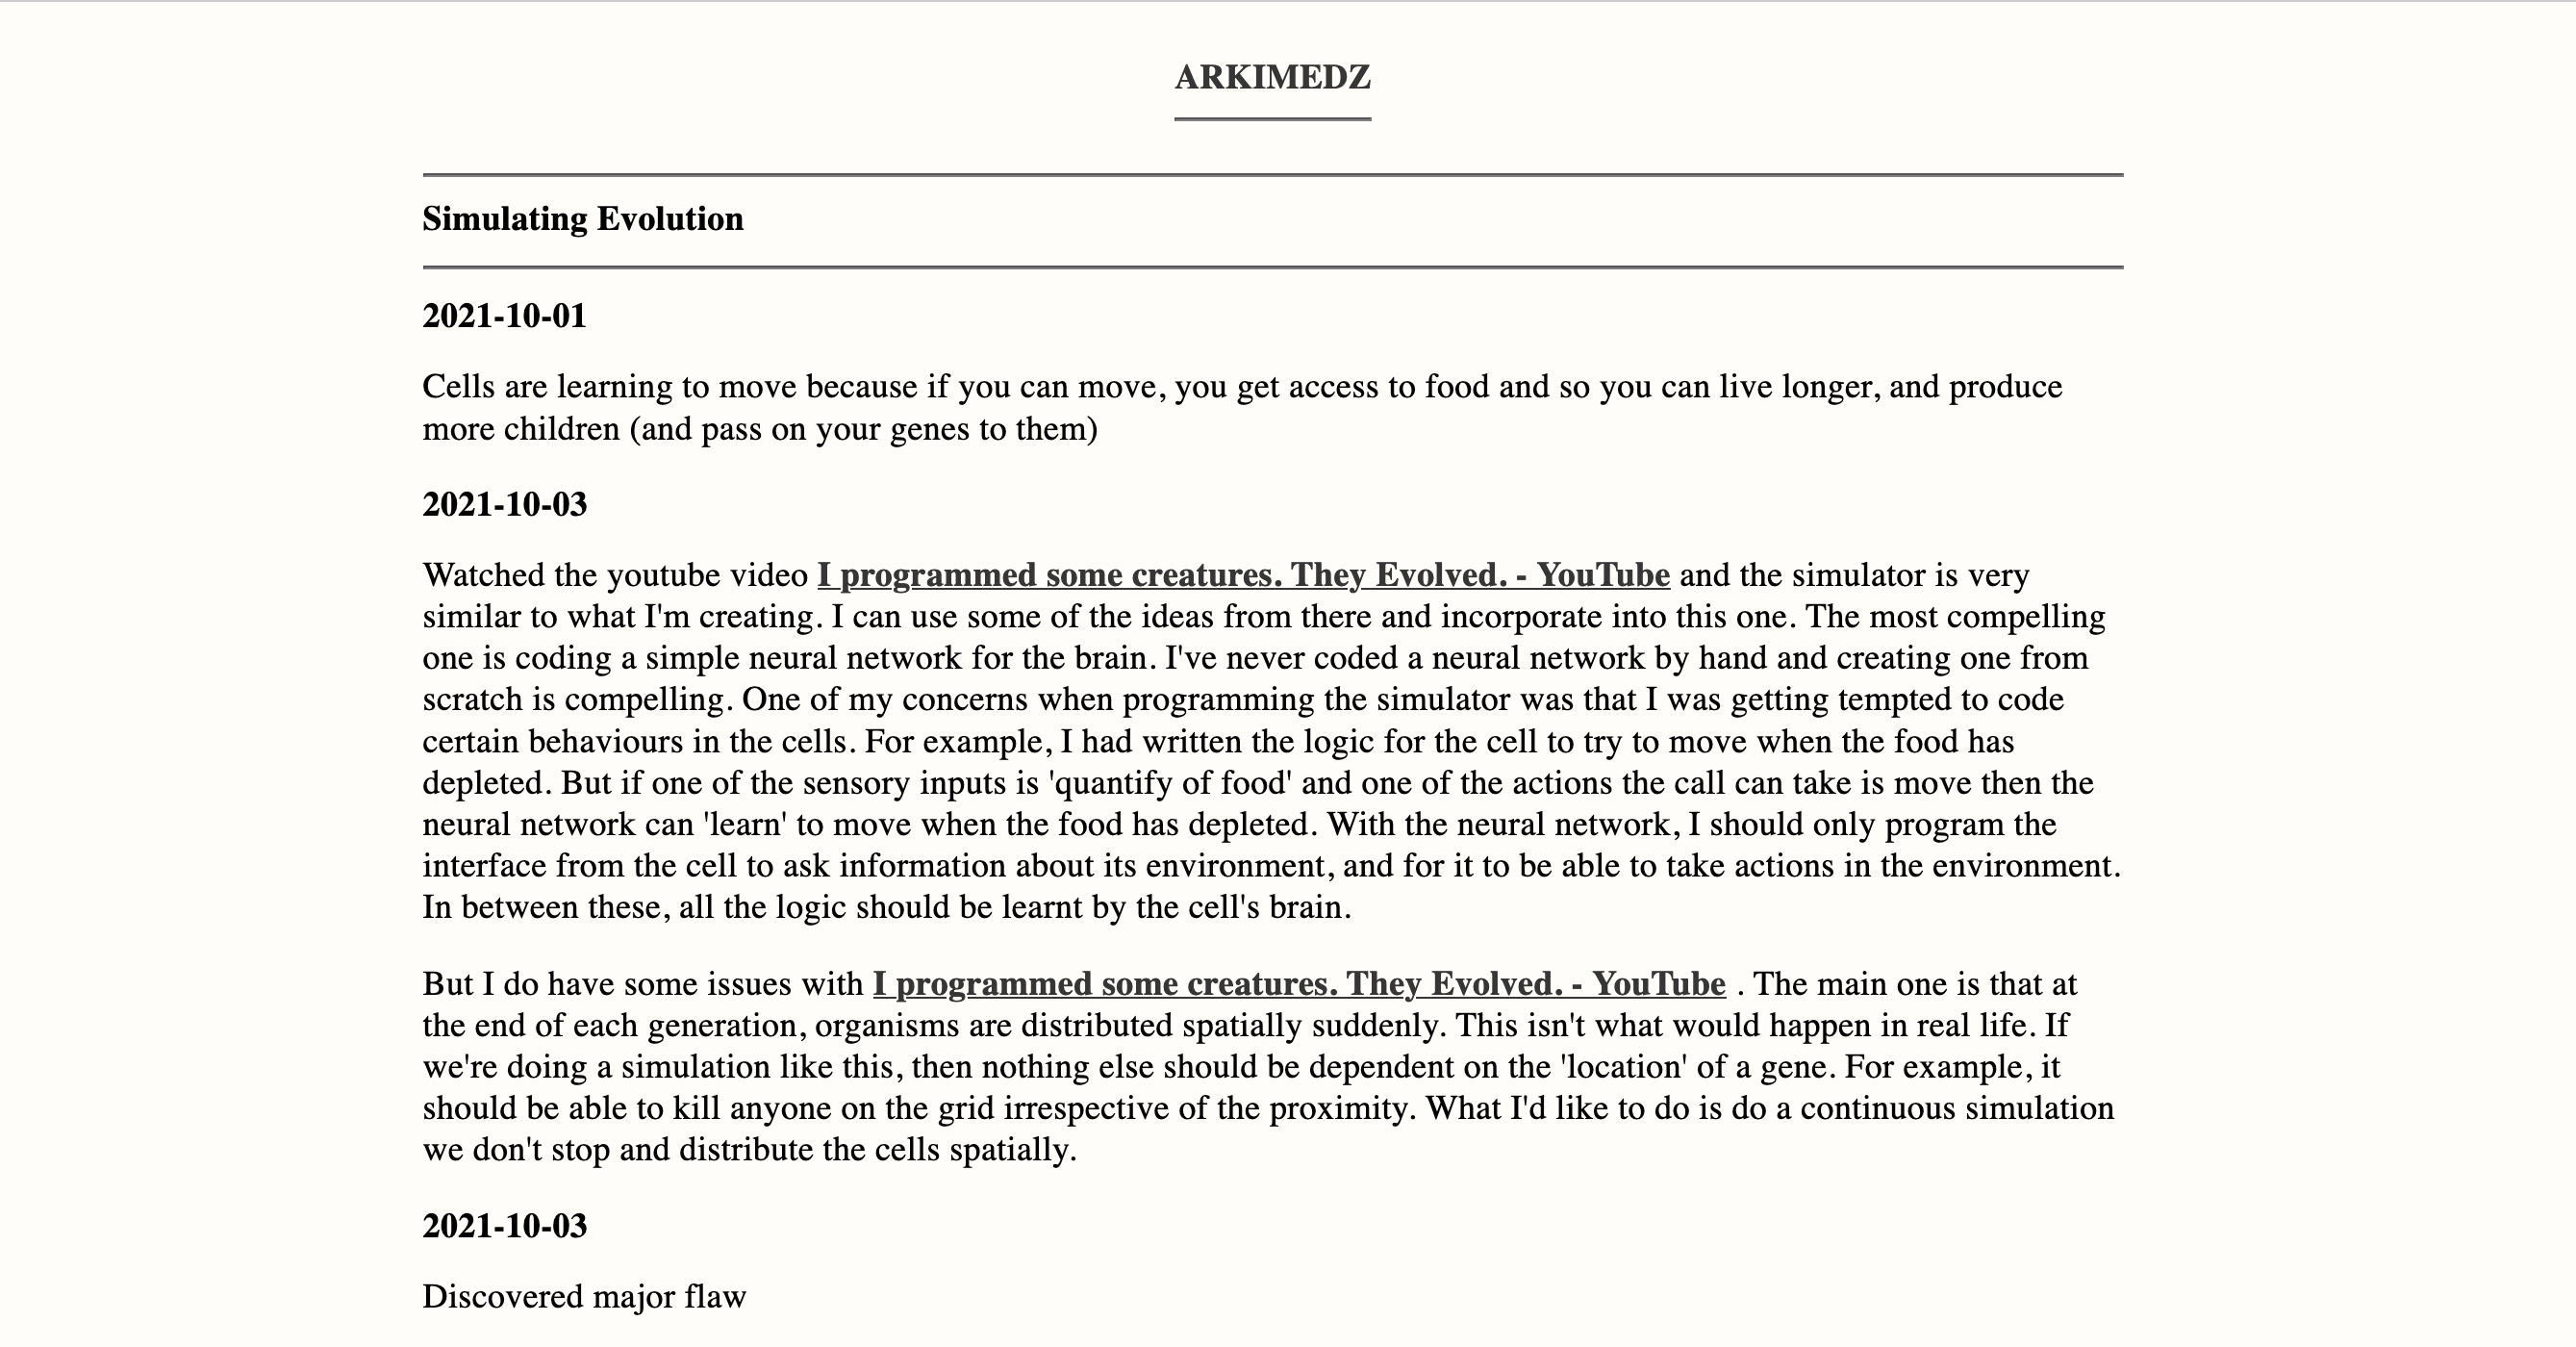
Site looks good, generates very quickly and is dead simple. I do need some checks that make sure that pages don’t get deleted and permalinks of pages don’t change. Would need to keep track of the list of permalinks for generated pages and each time the site is built, the build shouldn’t succeed if any permalinks have changed, or pages have been deleted or renamed. At the very least, keeping word count and page count is needed.
2021-11-10
Added a section for listing out posts, and added my first post.
2021-11-16
It was becoming difficult to add more featues to this site with my custom generator. I’m porting it to a Jekyll site created from scratch. Following the excellent instructions from here:
Instead of cloning an existing Jekyll repo or starting with a custom theme, would highly suggest going to this tutorial. I would have saved a ton if time if I had gone through this tutorial earlier instead of starting with my custom generator. The main reason was in the past, when I had created Jekyll sites there was so much I didn’t understand. But with this step-by-step tutorial I undertand what each file in my repo is because I’ve created every single one myself. And I can trim the site down to only the bare minimum features that I need.
The move to Jekyll started with me trying to configure Netlify CMS and it was getting very tedious to incorporate the changes needed to my custom site generator.
2021-11-17
- ✔ configure Netlify CMS
- ✔ fix all images
- Add a projects page or swap journals with projects
For projects, I can add the following data YAML file and make it editable in Netlify CMS:
- ✔ Name
- ✔ URL
- ✔ Journal URL
And then create a list with links for each item in the data file. This way I can keep adding new projects from the CMS
2021-11-22
I’d like to add a page with my generative art. Could be a grid of posts - if the posts become too many then I can paginate using Jekyll. Elements of an ‘art’ entry:
- Name
- Cover Image (optional)
- JS File
That’s all. If I can templat-ize this as a Jekyll collection called ‘art’ I can then create new art posts by just adding a new ‘js’ or ’ts’ file, and that’s it. The HTML wrapper, etc can be generated automatically for each new art post. I would need to figure out how to automatically compile all TS files to JS and then generate pages that use each JS file.
2021-11-23
Ok, so this is what I ended up doing:
- Embedded a parcel.js project inside my jekyll project
- The parcel build command is configured to create assets inside the Jekyll assets folder
- Created a new ‘art’ collection
- For new generative arts, I just need to create a new ‘art’ post, and specify the ‘jsName’ front matter value which is the name of the ‘javascript’ file that should be loaded in that HTML page.
2022-04-05
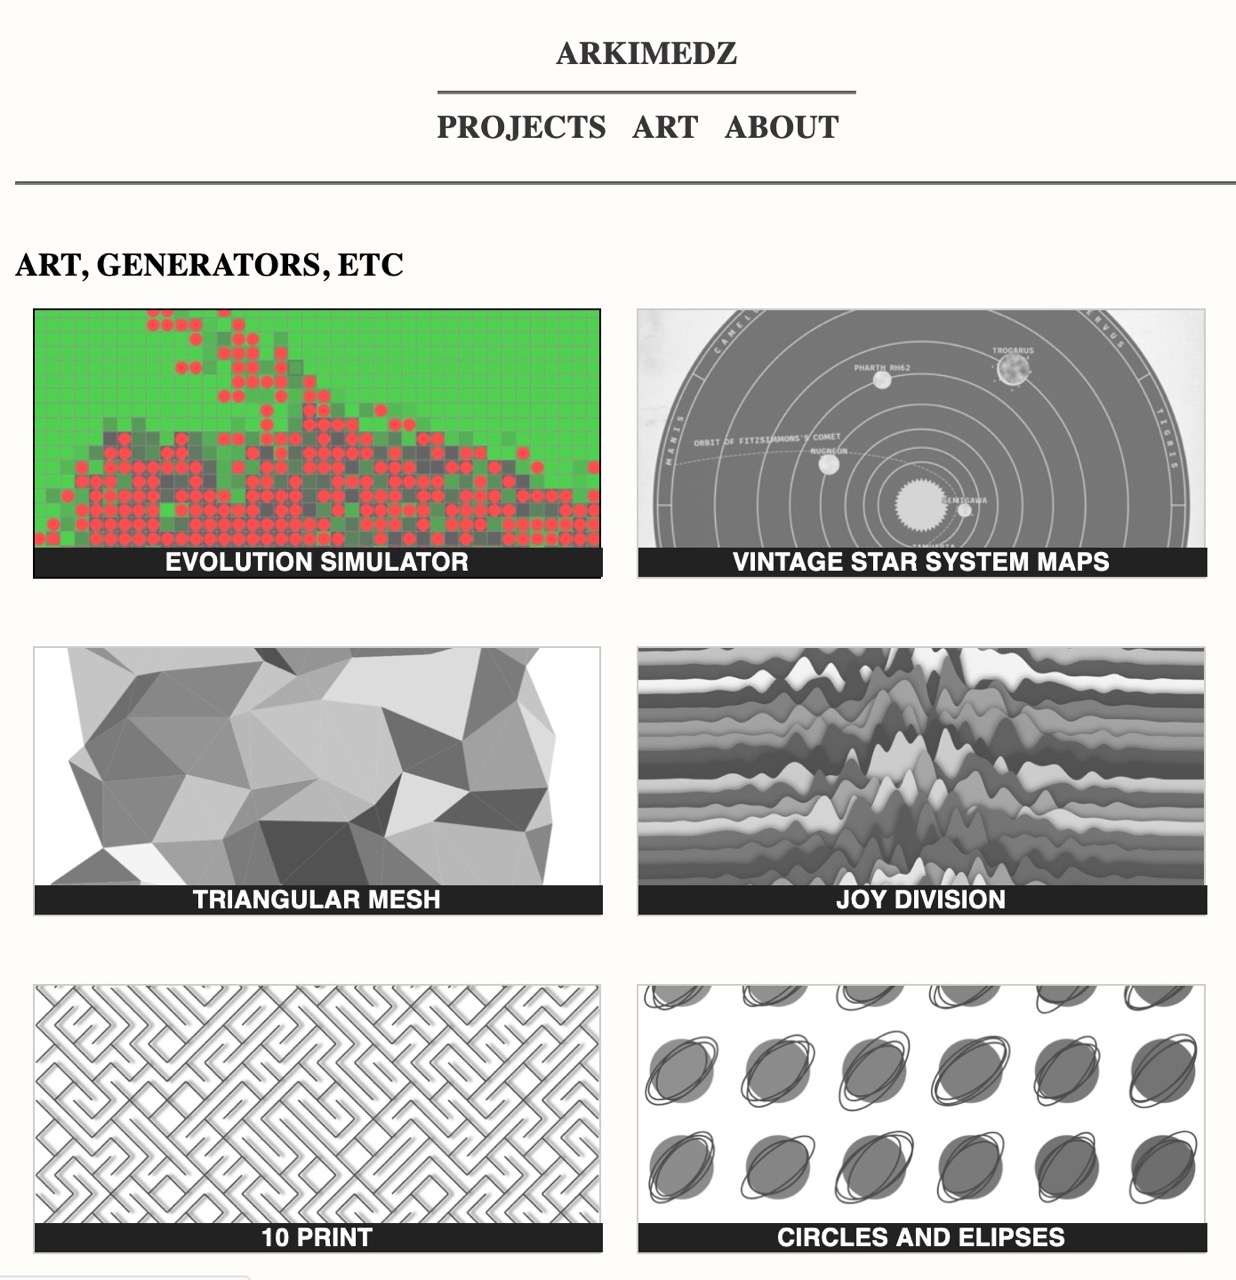
Big fan of https://noahveltman.com/projects/ and added very similar styling for my art page
2022-09-08
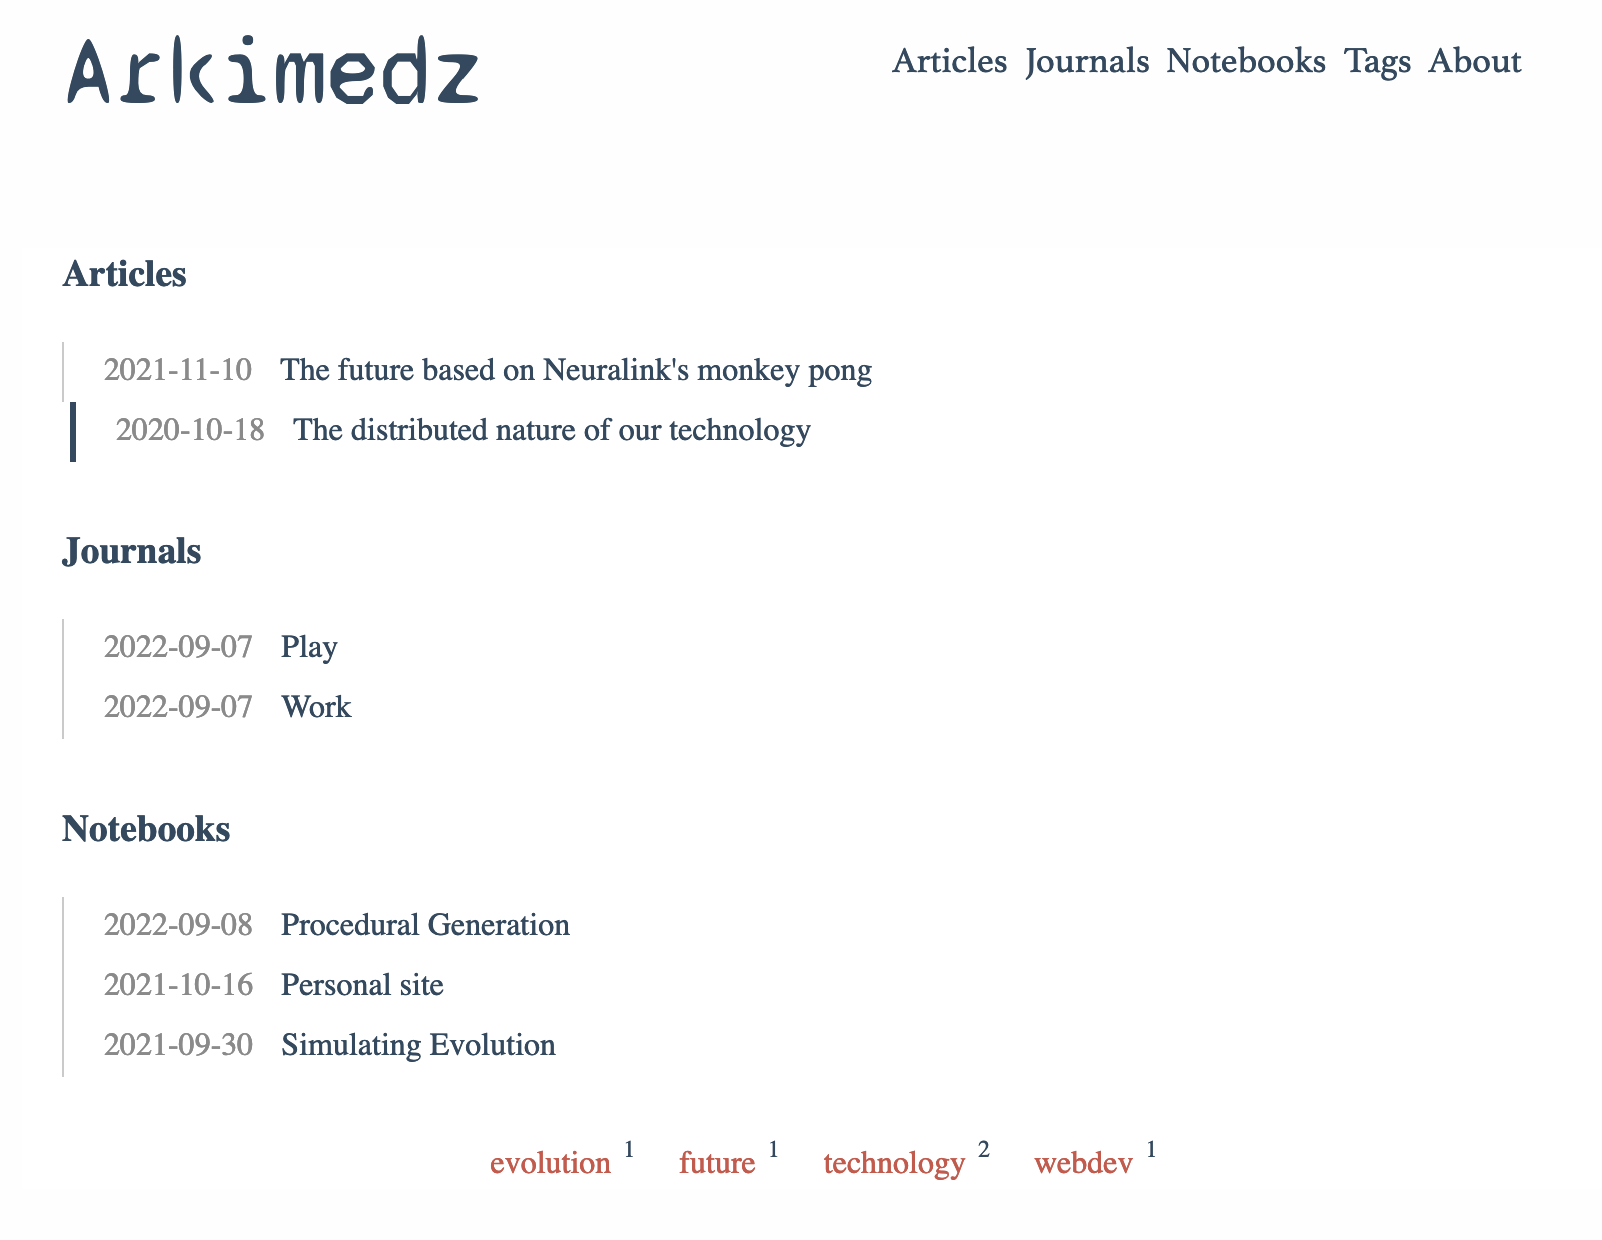
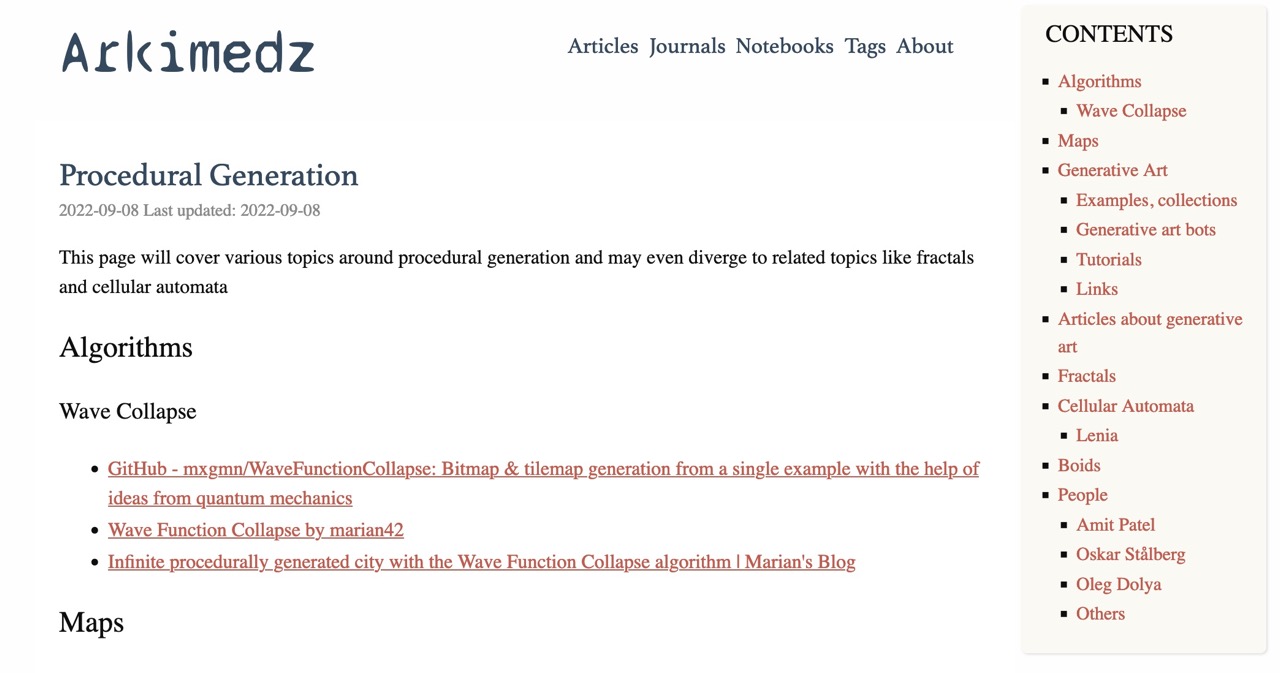
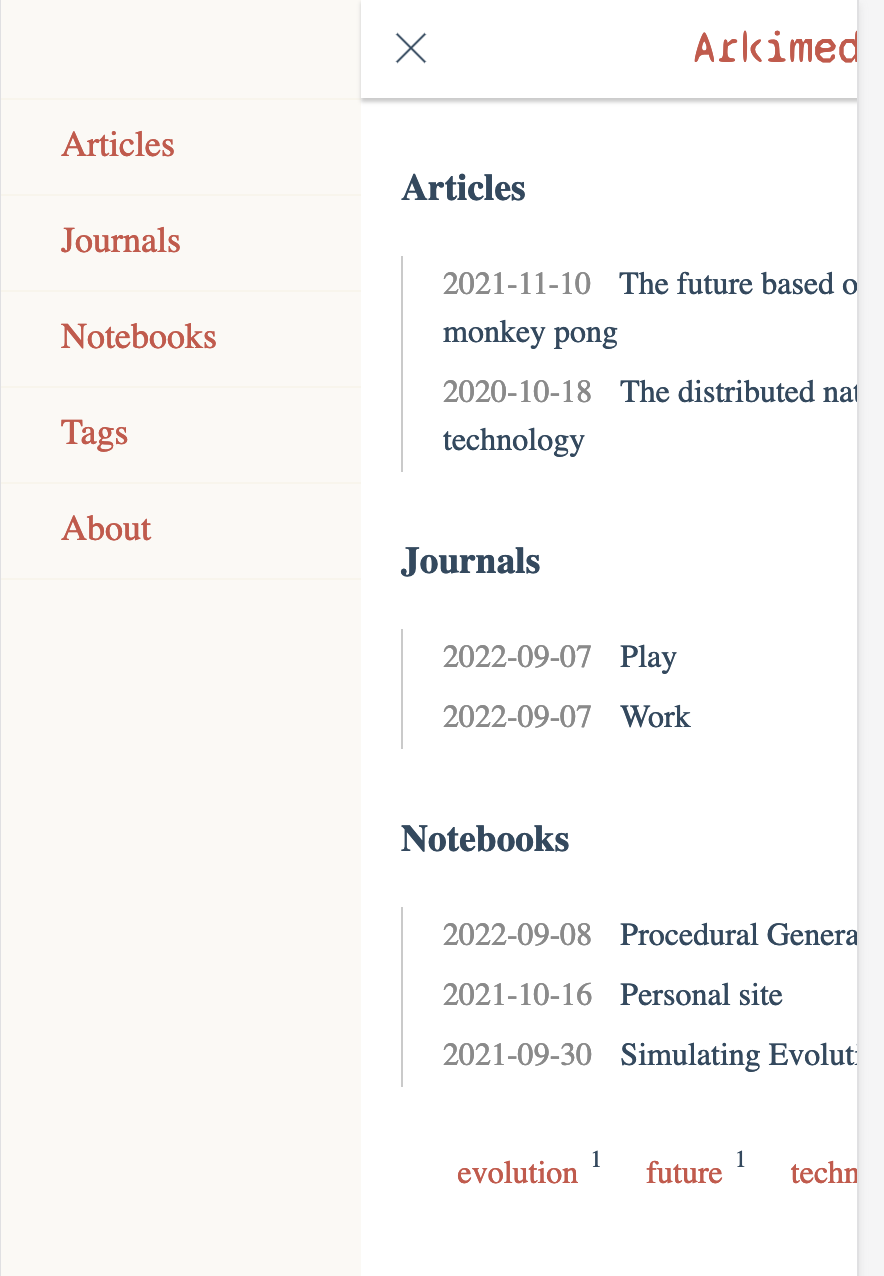
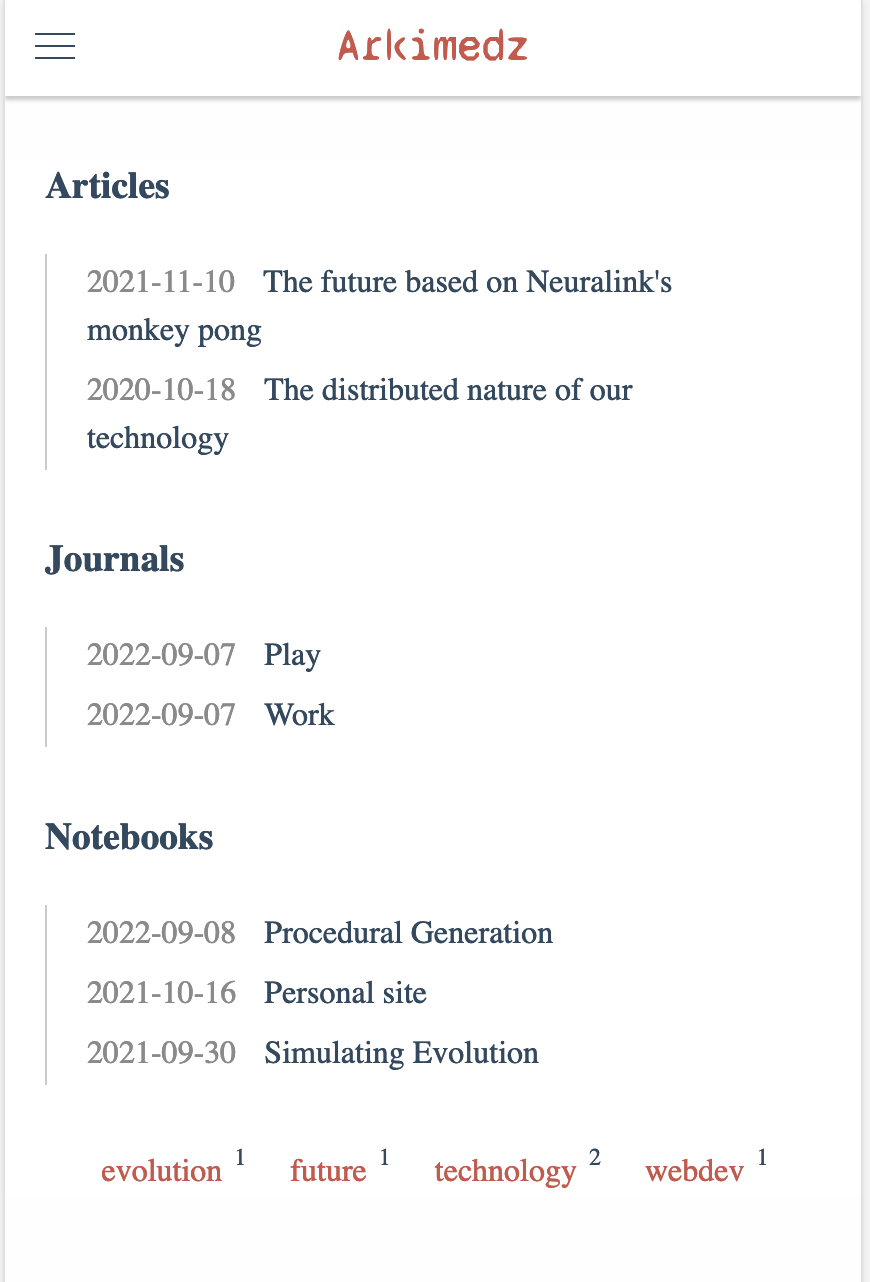
Decomissioning because of new and much simpler site created using Zola

2023-05-04
I use IA Writer for most of my writing. And I came across an interesting project to use Apple notes to just write and publish: https://montaigne.io/ . What a wonderful idea! Could I do that with IA Writer?
Initial thoughts are:
- Use the IA Writer API to convert a page to HTML
- Overwrite the HEAD in each page using a template
- Publish to Netlify / Cloudflare Pages
But I’m unable to find any API documentation for IAWriter. But looks like it support micropubpublishing. So I could probably use that. https://www.matsimitsu.com/blog/2020-08-27-iawriter-micropub-netlify-static-site has some details on how one could go about it.
https://indieweb.org/Micropub#How_to_implement has documentation on one one can implement a Micropub endpoint. Let me try it with cloudflare functions.
I started on the path of implementing a simple micro pub server with basic functionality to publish posts via iAWriter but stopped midway because I realized that it’s not actually what I want. I just want to be able to publish a folder of markdown files. That’s all. I don’t need the functionality to publish individual files. I can just used the ‘creation’ date of the file to determine the the post date. And looks like when saving with iCloud sync with iAWriter, it saves the creation date irrespective of which device I’m using iCloud writer on.
Anyways, I’m deciding with the following approach:
- Create a git repository, add it as a location in iA Writer
- Use a bash script to convert all markdown documents to HTML files locally (no cloud function, deployment, etc)
- Integrate with Cloudflare Pages to deploy the site each time a commit is pushed.
Here’s the entire script to do this:
#!/bin/bash

# Create a public folder if it doesn't exist
rm -rf public/*
mkdir -p public

# Create a temp folder and clean it up if it already exists
mkdir -p temp
rm -rf temp/*

# Create a data.csv file if it doesn't exist
touch data.csv

# Loop over all the files in the posts folder
for file in posts/*.md
do
    # Get the filename without the extension
    filename=$(basename "$file" .md)

    # Remove any commas from the filename
    filename=$(echo "$filename" | tr -d ',')

    # data.csv keeps a mapping of actual filename (filename.md) and generated filename (new_filename.html)
    # check if the file exists in data.csv and use the same filename. If not, then
    # create a new filename with the yyyy-mm-dd-title format and add an entry in the data.csv file
    if grep -q "$filename" data.csv; then
        echo "Found $filename in data.csv"

        # Set new_filename to the second column of the matching row
        new_filename=$(grep "$filename" data.csv | cut -d ',' -f 2)
    else
        echo "Adding $filename to data.csv"

        # Get date based on the creation date of the file
        # Get the creation date of the file
        creation_date=$(stat -f "%SB" -t "%Y-%m-%d" "$file")

        # Create title from filename by replacing all spaces with dashes
        title=$(echo "$filename" | tr ' ' '-' | tr '[:upper:]' '[:lower:]')

        # Create a new filename with the date and title
        # TODO: Truncate new_filename to 50 characters
        new_filename="$creation_date-$title"

        # Add an entry in the data.csv file
        echo "$filename,$new_filename" >> data.csv
    fi

    # Convert the markdown to HTML and save it in the temp folder
    markdown "$file" > "temp/$new_filename.html"

    # Also add an entry in the temp/index.html file
    echo "<li><a href=\"$new_filename.html\">$filename</a></li>" >> temp/index.html
done
for file in temp/*.html
do
    # concatenate the html/before.html, file and html/after.html to create a new file in the public folder
    cat html/before.html "$file" html/after.html > "public/$(basename "$file")"
done

#  Copy the stylesheet file to the public folder
cp html/style.css public/style.css

# Copy the images folder to the public folder
cp -r posts/images public/images

# ----------- Preview
open public/index.html

# ---------------- Deploy
read -p "Deploy to Cloudflare? (y/n) " -n 1 -r

if [[ $REPLY =~ ^[Yy]$ ]]
then
    git commit -am "Saving changes"
    git push
fi
2023-05-18
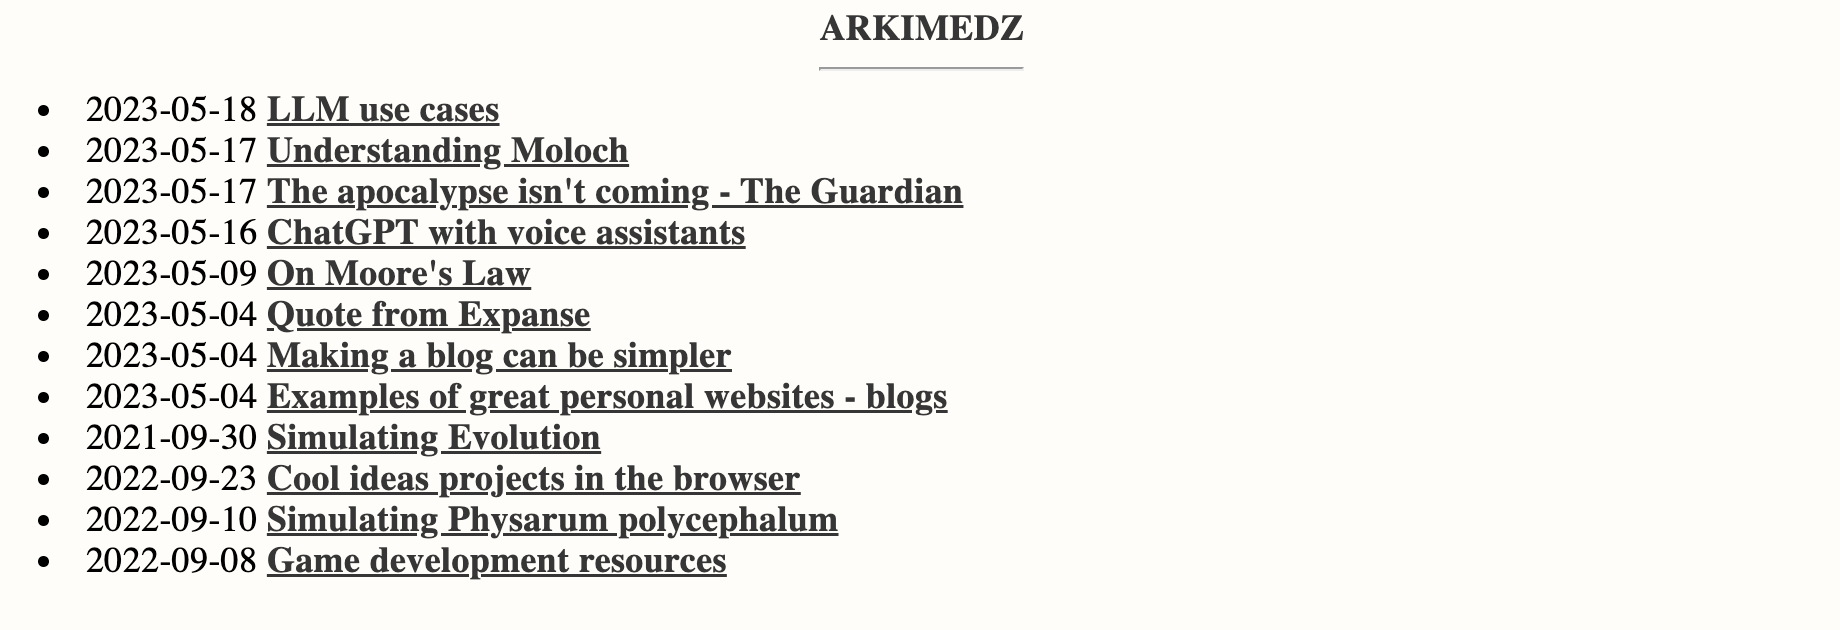
Current site looks like this:
2023-05-30
Switched from using markdown cli on macOS to pandoc so I could embed front matter in the markdown files. Not using data.csv at all now - all the metadata is added at YAML front matter to each markdown file. Works seamlessly with both IA Writer’s preview functionality as well as pandoc. yq makes reading/writing the front matter in markdown files extremely easy with the --front-matter= flag.